Knowing how to determine your skin type is the first real step toward a skincare routine that actually works for you. Most people buy products based on trends or packaging, then wonder why their skin still breaks out, feels tight, or looks dull. The truth is, skincare only works when it matches your skin’s actual needs, and that starts with understanding what type you’re dealing with.
I used to slather on heavy creams marketed for “all skin types” and couldn’t figure out why my T-zone stayed shiny while my cheeks flaked. Turns out I had combination skin and didn’t know it. Once I learned to read my skin properly, everything changed, from the cleanser I picked to how often I exfoliated.
This guide walks you through simple, at home methods to figure out your skin type, what each type actually looks and feels like, the factors that influence it, and how to care for it without wasting money on the wrong products.
Why Knowing How to Determine Your Skin Type Actually Matters
Your skin type determines how it produces oil, holds moisture, and reacts to ingredients. Using the wrong products for your skin type can make existing problems worse. Someone with oily skin who uses heavy, rich moisturizers may end up with clogged pores and breakouts. Someone with dry skin who uses harsh, oil stripping cleansers can end up with more irritation and flaking.
Dermatologists generally group skin into five main categories: normal, oily, dry, combination, and sensitive. Some skin can also shift between categories depending on the season, hormones, stress levels, or even the water quality where you live. That’s why it helps to check in with your skin every few months rather than assuming your type is fixed forever.
Understanding your skin type also saves money in the long run. Instead of buying whatever product has the best marketing, you can shop with a clear filter in mind, which cuts down on wasted purchases and half used bottles sitting in your bathroom cabinet.

What Factors Actually Shape Your Skin Type
Before jumping into the tests, it helps to understand why skin type varies from person to person in the first place. Genetics play the biggest role, since the amount of sebum your glands naturally produce is largely inherited. But genetics aren’t the whole story.
Climate and humidity levels affect how much moisture your skin holds onto throughout the day. People living in humid regions often lean oilier, while those in dry or cold climates tend to experience more dryness, regardless of their natural baseline.
Hormones shift skin behavior too, which is why many people notice oilier skin during puberty, before their period, or during pregnancy. Diet, hydration levels, sleep quality, and stress also play smaller but noticeable roles. Even the products you’re currently using can mask or exaggerate your true skin type, which is part of why the bare face test below asks you to skip products entirely before testing.
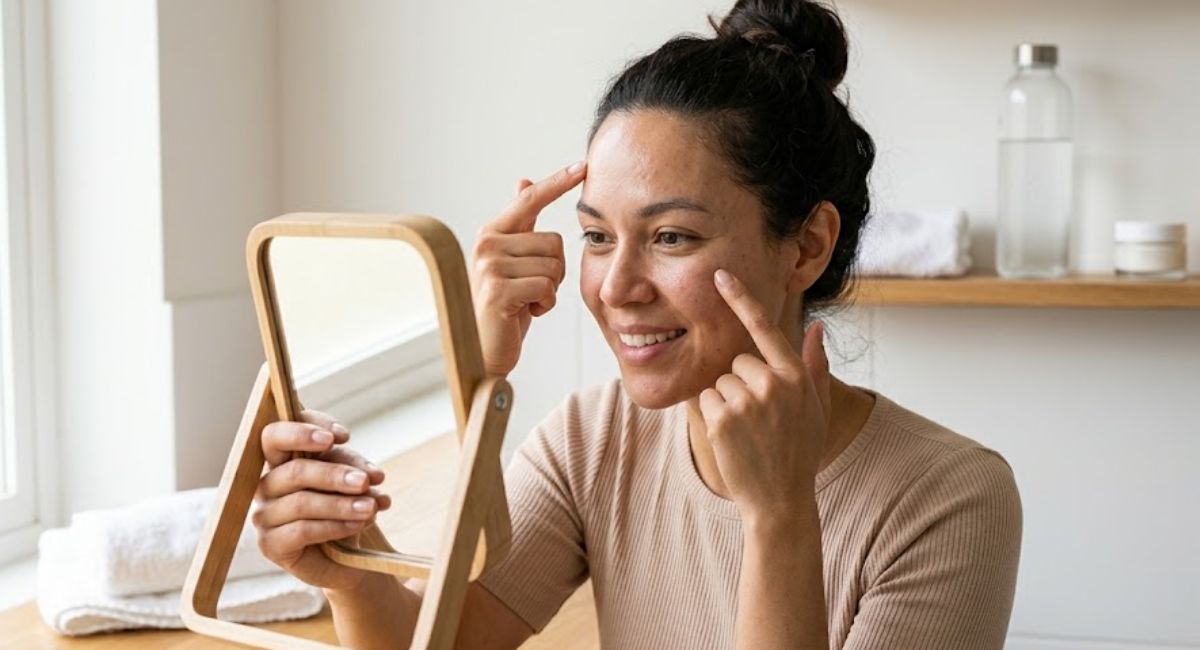
Step 1: The Bare Face Method (Most Reliable Test)
This is the test dermatologists recommend most often, and it’s the one I trust the most because it doesn’t require any tools.
Here’s how to do it:
- Wash your face with a gentle, sulfate free cleanser
- Pat your skin dry with a clean towel
- Do not apply any moisturizer, serum, or makeup
- Wait 25 to 30 minutes and let your skin settle
- Look closely in a mirror with good lighting
After waiting, check how your skin looks and feels in different areas, especially your forehead, nose, cheeks, and chin.
If your skin feels tight, rough, or shows flaking, you likely have dry skin.
If your entire face looks shiny and feels greasy to the touch, you’re probably dealing with oily skin.
If only your forehead, nose, and chin area (the T-zone) look shiny while your cheeks stay normal or dry, that’s combination skin.
If your skin looks balanced, neither shiny nor flaky, with barely visible pores, you likely have normal skin.
If your skin reacts with redness, stinging, or itching during or after this test, you may have sensitive skin, which can overlap with any of the other types.
Step 2: The Blotting Sheet Test
If the bare face method feels too subjective, blotting sheets give you a slightly more visual answer. You can find these at almost any drugstore or beauty aisle, and they’re cheap enough to keep a pack in your bag.
To do this test properly:
- Wash your face and wait about an hour without applying products
- Press a blotting sheet gently against different areas of your face, one at a time
- Hold each sheet up to the light and check how much oil transferred
If the sheet picks up a heavy amount of oil from your forehead, nose, and cheeks, you’re likely oily. If it picks up oil only from the T-zone, that points to combination skin. Very little to no oil on any sheet usually means dry or normal skin, and you’ll need the bare face test to tell those two apart.
Step 3: The Pinch and Touch Test
This one sounds simple, but it tells you a lot about hydration and elasticity, which oil based tests can miss.
Gently pinch a small area of skin on your cheek. Skin that snaps back quickly usually has good hydration and elasticity, common in normal or oily skin. Skin that takes longer to bounce back, or feels papery and thin, often points to dryness.
Also pay attention to texture as you touch your face throughout the day. Rough or bumpy texture, especially around the cheeks and jaw, often signals dryness or dehydration. Smooth but shine prone texture usually means oil production is higher than average.
Step 4: Track Your Skin Over a Full Day
Some dermatologists suggest a slightly different approach, observing how your skin behaves from morning to night rather than relying on a single snapshot test. Wash your face in the morning, apply nothing, and check in at midday and again in the evening.
If shine builds up steadily by midday across your whole face, that points to oily skin. If your skin still feels comfortable and matte through the afternoon but starts to feel tight by evening, that leans closer to normal or slightly dry. This method takes more patience, but it can catch patterns that a thirty minute test might miss, especially for people whose skin behaves differently depending on the time of day.
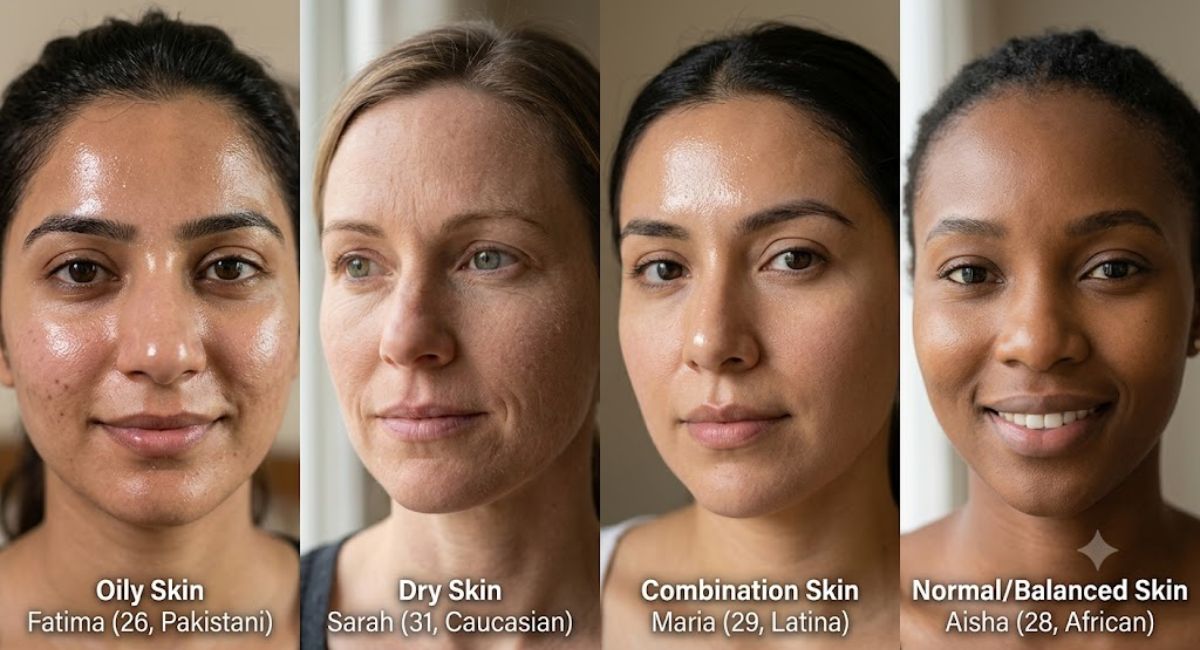
Understanding Each Skin Type in Detail
Normal Skin
Normal skin is fairly balanced. It’s not too oily and not too dry, pores are usually small, and breakouts are rare. Ironically, this is one of the least common skin types, despite being the one most product labels seem to assume everyone has.
Care tip: Even normal skin needs consistent hydration and daily SPF. Don’t skip sunscreen just because your skin looks fine now, sun damage builds up over years, not days.
Oily Skin
Oily skin produces more sebum than it needs, leading to visible shine, enlarged pores, and a higher chance of blackheads or acne. It can feel frustrating because products marketed to control oil sometimes strip the skin, which triggers even more oil production as a rebound effect.
Care tip: Use a gentle foaming or gel cleanser, avoid heavy oils, and look for lightweight, oil free moisturizers labeled non comedogenic. Niacinamide is a solid ingredient to look for since it helps regulate oil production over time, and clay masks once or twice a week can help manage excess shine without over drying the skin.
Dry Skin
Dry skin doesn’t produce enough natural oil, which can leave it feeling tight, looking dull, and sometimes flaking or cracking in more severe cases. Dry skin can also be more prone to fine lines simply because it lacks the plumpness that comes with proper hydration.
Care tip: Cream based cleansers, hyaluronic acid serums, and richer moisturizers with ceramides work well here. Avoid hot water when washing your face, since it strips natural oils even further, and consider adding a facial oil as the last step in your evening routine to lock in moisture overnight.
Combination Skin
Combination skin is exactly what it sounds like, oily in some areas and dry or normal in others, most commonly an oily T-zone with drier cheeks. This is actually one of the most common skin types, and it can be tricky because a single product rarely works well across the whole face.
Care tip: Consider using different products on different zones, a lighter gel moisturizer on the T-zone and a richer cream on the cheeks. Multi masking, using a clay mask on oily areas and a hydrating mask on dry areas, is also worth trying, and it can be done once a week without much extra effort.
Sensitive Skin
Sensitive skin reacts easily to new products, weather changes, or certain ingredients, often showing up as redness, itching, burning, or stinging. Sensitive skin isn’t technically a separate category the way the others are, since it can layer on top of oily, dry, or combination skin.
Care tip: Patch test every new product before applying it to your full face. Fragrance free formulas and short ingredient lists tend to be safer bets, and introducing one new product at a time makes it easier to spot what’s actually causing a reaction. Keeping a simple log of new products and any reactions can also help you and a dermatologist spot patterns faster.
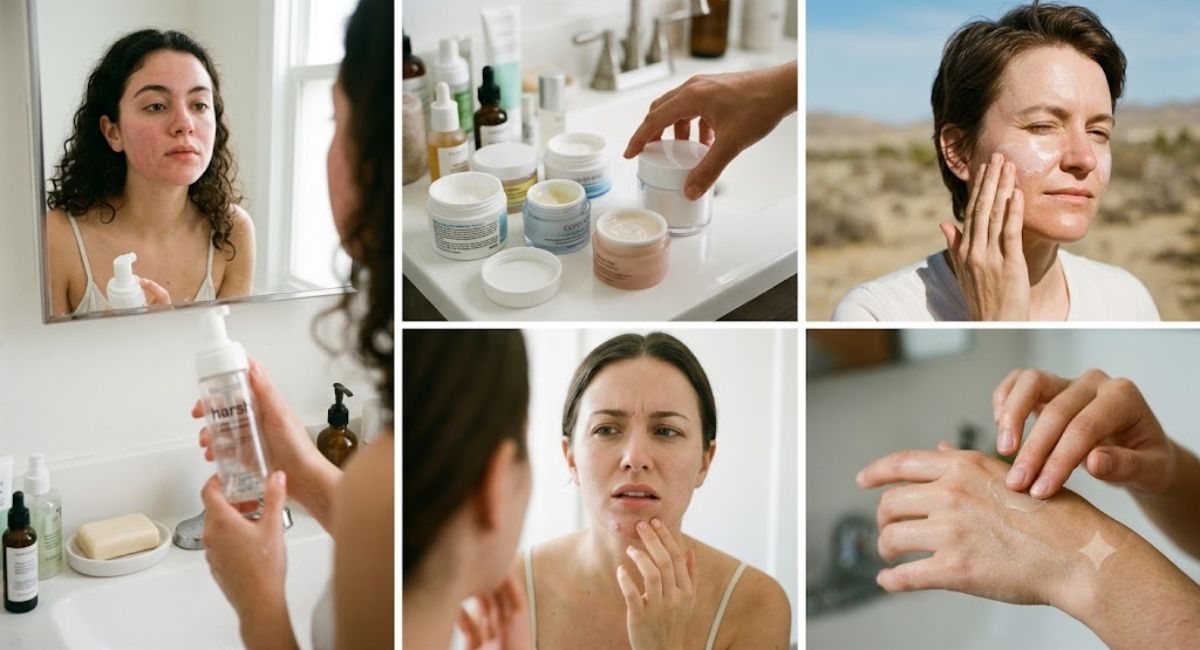
Common Mistakes People Make When Figuring Out Their Skin Type
I’ve made a few of these myself, so consider this a shortcut past the trial and error.
Testing right after washing your face. Your skin needs time to return to its natural state. Testing immediately after cleansing will almost always make your skin look drier than it actually is.
Testing after sun exposure or a workout. Sweat and increased blood flow can temporarily change how oily or flushed your skin looks, throwing off your results.
Assuming your skin type never changes. Hormonal shifts, seasons, aging, and even diet can shift your skin type over time. What worked in your twenties might not work in your thirties, and winter skin often behaves differently than summer skin.
Judging your skin type based on one bad breakout. A single flare up doesn’t necessarily mean you have oily or acne prone skin overall. Stress, diet, or a new product could be the real trigger.
Ignoring the neck and jawline. Many people only check their forehead, nose, and cheeks, but the jawline and neck can behave differently and are worth including in your assessment, especially for spotting hormonal breakouts.
When to See a Dermatologist
At home tests are genuinely useful, but they’re not a replacement for professional advice, especially if you’re dealing with persistent acne, unexplained irritation, or skin conditions like eczema or rosacea. A dermatologist can look at your skin’s history, run more detailed assessments, and recommend a routine or treatment plan tailored to what’s actually happening beneath the surface.
If your skin has changed suddenly or dramatically, that’s also worth mentioning to a doctor, since it can sometimes point to underlying hormonal or health related causes rather than just a change in skincare needs. Dermatologists can also use tools like magnified skin scanners that go beyond what a home test can reveal, particularly for pigmentation or deeper hydration issues.
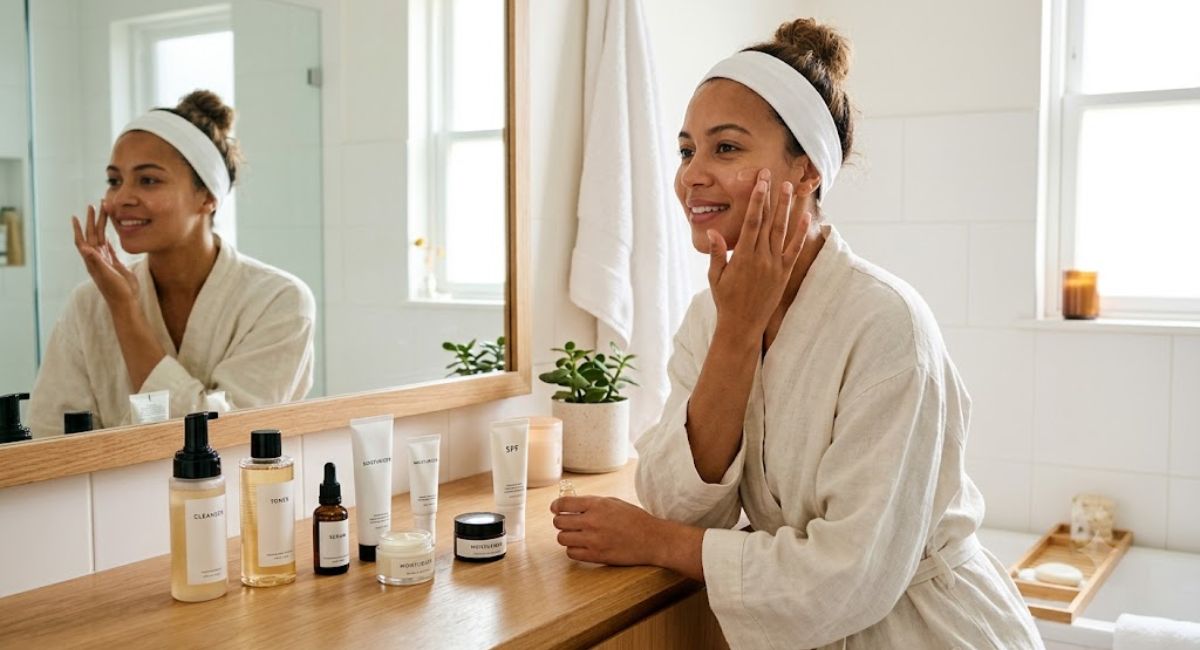
Building a Routine Once You Know Your Skin Type
Once you’ve identified your skin type, keep your routine simple at first. A cleanser, moisturizer, and sunscreen suited to your type will get you further than a ten step routine full of trendy products. You can always add targeted treatments like serums or exfoliants later, once you understand how your skin responds to the basics.
Pay attention to how your skin reacts over the following weeks. Skin type isn’t always permanent, and the best skincare routine is one that adjusts as your skin does. If you travel to a very different climate, expect to reassess and possibly rotate in lighter or heavier products depending on the humidity and temperature shift.
Frequently Asked Questions
1. How can I tell my skin type without buying any products? The bare face method works with just a gentle cleanser you likely already own. Wash your face, wait 25 to 30 minutes without applying anything, then observe how your skin looks and feels.
2. Can my skin type change over time? Yes. Hormones, weather, aging, diet, and stress can all shift your skin type, so it’s worth reassessing every few months, especially between seasons.
3. What’s the difference between combination skin and oily skin? Oily skin looks and feels greasy across the entire face, while combination skin is only oily in the T-zone, with the cheeks staying normal or dry.
4. Is sensitive skin a separate skin type? Not exactly. Sensitive skin can overlap with oily, dry, normal, or combination skin, and mainly describes how easily your skin reacts to products or environmental changes.
5. How often should I test my skin type? Checking every three to four months, or whenever you notice changes like increased breakouts, dryness, or irritation, is a reasonable habit.
6. Do blotting sheets really work for testing skin type? Yes, they’re a fairly reliable way to visually confirm oil production, especially when used alongside the bare face method for a more complete picture.
7. Why does my skin feel oily but also flaky at the same time? This is common with dehydrated oily skin, where your skin lacks water, not oil, and overproduces sebum to compensate. A lightweight, hydrating moisturizer usually helps more than oil control products in this case.
8. Should I get a professional skin analysis instead of testing at home? At home tests are a great starting point, but a dermatologist can offer a more detailed assessment, especially if you’re dealing with persistent skin concerns.
9. Does climate really affect my skin type? Yes. Humid climates tend to push skin toward oilier behavior, while dry or cold climates often make skin feel tighter and flakier, even if your baseline skin type stays the same.
10. What’s the best time of day to test my skin type? Midday testing, after your skin has had several hours without products, tends to give the clearest picture of natural oil production, though the morning bare face test also works well.